I’ll show you how to whiten teeth in Photoshop in this tutorial. In this tutorial, we used the Hue/Saturation adjustment layer to whiten and brighten teeth at the same time.
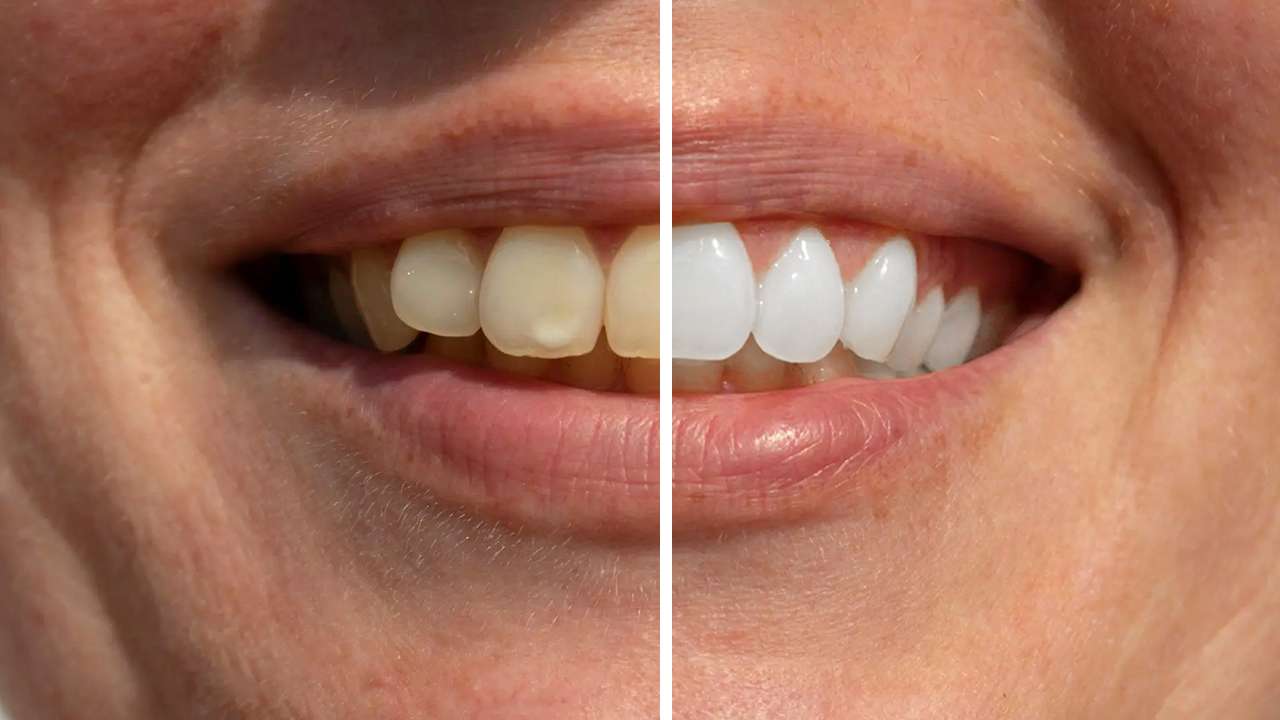
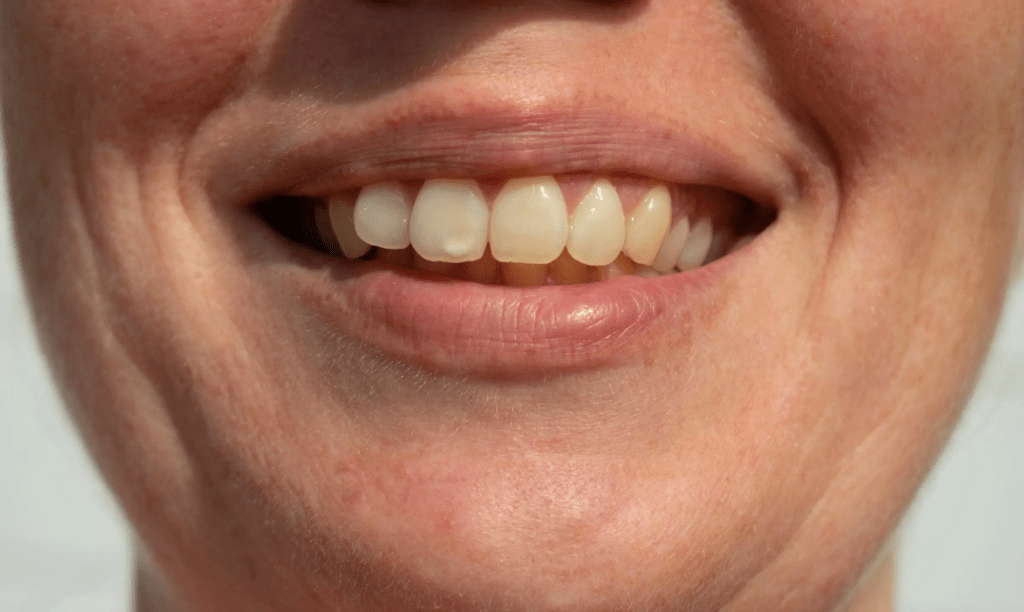
You can use any photo where someone’s teeth could be whiter to follow along. I’ll use the following image from Shutterstock.
This is accomplished in a few steps, which are summarized below:
- To begin, choose the Lasso Tool and draw a selection around the teeth.
- Click the New Fill or Adjustment Layer icon in the Layers panel and select a Hue/Saturation adjustment layer.
- Change the Edit option in the Properties panel from Master to Yellows.
- To reduce the yellow in the teeth, move the Saturation slider to the left.
- Change the Edit option in the Properties panel from Yellows to Master.
- Set your Foreground color to black, then paint around the teeth on the layer mask to hide the effects of the adjustment layer in the lips and gums.
As always, this has been put into a video, you can watch the step by step tutorial below
Read Next: How To Design a CHURCH FLYER For Online Bible Study | Photoshop Tutorial
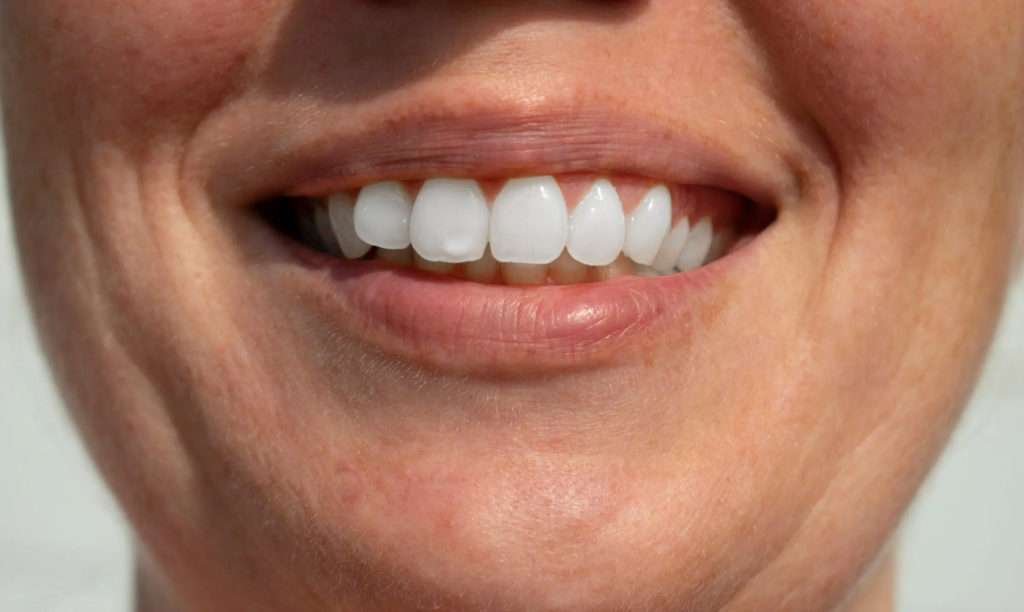
If you follow all of the steps correctly, you should end up with something like this.
That’s all there is to it! That’s how to easily whiten and brighten teeth in Photoshop with a simple Hue/Saturation adjustment layer! For more tutorials and tips and tricks like this, visit my youtube channel for more videos.
You can order all your flyer designs on my Fiverr account, I’ll be glad to work on your projects for you.